
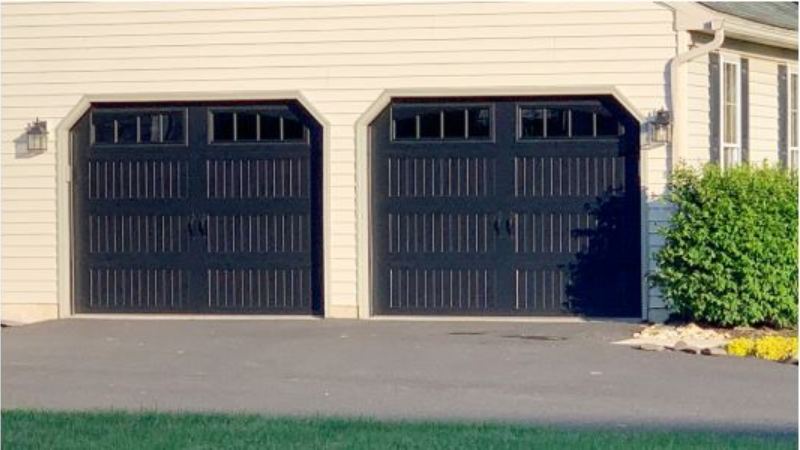
Homeowners caulk windows, add attic insulation and swap in smart thermostats to cut energy bills. Then they leave the single largest opening in the house, a garage door that can measure 16 feet wide, as an afterthought.
If your garage is attached, it acts as a buffer between your living space and the weather. When that buffer is drafty and uninsulated, heat and cold move straight through the shared walls and into the rooms beside and above it.
The fixes range from a $20 weekend project to a full door upgrade. Here’s where the energy goes, and how to keep more of it inside.
Why the Garage Matters to the Rest of the House
Most attached garages aren’t heated or cooled, and their walls, ceilings and doors are often built to a lower standard than the rest of the home. On a cold day, an uninsulated garage can be nearly as cold as outside.
That cold doesn’t stay put. It seeps through the wall between the garage and the house, through the door into the kitchen or mudroom, and into the floor of any bedroom built above the garage. Those rooms are often the hardest in the house to keep comfortable.
A tighter, better-insulated garage door won’t turn your garage into a living room. But it narrows the temperature gap, which means the rooms next to it lose less heat, your HVAC system works a little less, and anything you store in the garage, from paint to a second refrigerator, sees less extreme temperatures.
Start by Sealing the Gaps
Air leaks usually cost more energy than thin panels do, and they’re the cheapest to fix. Close the door on a bright day, turn off the garage lights, and look for daylight around the edges. Anywhere you see light, air is getting through.
The bottom seal. The rubber strip along the bottom of the door takes the most abuse. Over time it cracks, flattens or tears, and an uneven garage floor can leave gaps at the corners. Most doors use a seal that slides into a track on the bottom panel, and replacing it is a manageable DIY job for many homeowners.
Perimeter weatherstripping. The vinyl or rubber stop molding along the sides and top of the door frame seals the gap between the door and the jamb. If it’s brittle, warped or pulling away from the frame, replace it.
A threshold seal. For floors that dip or slope, a rubber threshold glued to the floor gives the bottom seal something to press against and helps keep out rain, leaves and pests.
Between the panels. Many insulated doors have seals between sections. If your door doesn’t, or the seals are worn, ask about options when you have the door serviced.
Insulate the Door You Have, or Upgrade?
Once the gaps are sealed, the next question is the door itself.
| Add-on insulation kit | New insulated door | |
| What it is | Foam board or reflective panels cut to fit inside each door panel | A factory-built door with insulation sealed between steel layers |
| Typical R-value | Modest improvement, depending on the kit | Roughly R-6 to R-18 or more, depending on the model |
| Pros | Low cost; a weekend project | Best performance; quieter, stronger, better looking; often includes better seals |
| Trade-offs | Adds weight, which can throw off spring balance; won’t fix drafts or worn hardware | Higher upfront cost |
| Best for | A newer, solid door you plan to keep | An older or damaged door, or a garage used as living or work space |
One caution with kits: added weight changes how the door is balanced. If the door feels heavier or the opener starts to strain afterward, have a technician adjust the springs. Never try to adjust springs yourself.
Look Beyond the Door
The garage door is the biggest opening, but it isn’t the only weak spot:
- The door into the house. It should be an exterior-grade, solid or insulated door with good weatherstripping and a tight threshold, just like your front door.
- The shared wall and ceiling. If the wall between the garage and the house, or the ceiling under a bedroom, isn’t insulated, that’s often the most effective upgrade of all.
- Windows and vents. Seal around garage windows, and caulk gaps where pipes, wires and vents pass through the walls.
- The opener. Modern openers with timer-to-close can automatically shut a door someone forgot. Smartphone alerts let you check from anywhere.
- Close the door promptly in very hot or cold weather, and don’t leave it partly open for long stretches.
When to Call a Professional
Replacing a bottom seal or adding weatherstripping is a reasonable DIY project. Bring in a garage door technician when:
- The door no longer closes evenly, so seals can’t do their job
- You’ve added insulation and the door feels heavier or the opener strains
- Weatherstripping keeps failing because the door or frame is out of alignment
- You’re weighing a new insulated door and want help comparing R-values, materials and costs
A good technician can check the door’s balance, adjust the springs, and tell you honestly whether better seals will do the job or a new door makes more sense.
Sealing up the garage doesn’t take much, and it pays you back every season, in lower bills, more comfortable rooms and a garage that’s a little less brutal to step into on a winter morning.
About the Author
This article was written by the team at Howell Door Company, a garage door company based in West Chester, Pennsylvania. For more than 80 years, Howell Door has installed and repaired residential and commercial garage doors and openers across Chester County and the surrounding area, with a showroom where homeowners can see working models in person.